Using the supplied surface cleaner, thoroughly wipe down the first 5-6 inches (15 cm) of the hood surface.

Remember to repackage surface cleaner for later use.


Clean first 5-6 inches (15 cm) of hood surface.

Wipe dry with a clean cloth or paper towel.


Place bumpons in locations shown in the illustration.

Note that bumpons must be placed on the hood, not the hood protector. If they are placed on the hood protector, they will wear through the paint on your hood!

Bumpon placement will vary with applications. Please see instruction sheet for measurements and diagrams.

Place the hood protector on the bumpons and center the protector on the hood.

If applicable to the application, locate the small holes on the front edge of the protector and wrap an abrasion pad around the hood edge at these locations.


On some applications it may be easier to stick the abrasion pad to the underside of the hood at the appropriate locations and then pick up the hood protector to wrap the abrasion pad around to the top surface of the hood.

Abrasion pad installed on leading edge.

Assemble the four pieces of the hood edge clip.

Hood edge clip consists of the pin, screws, clip bodies and the ‘L’ bracket.

Insert the pin into the top side of the hood protector.

Place the clip body onto the pin.

Place the ‘L’ bracket over the assembly and fasten the screw to engage the components.

Attach the Tough Guard to the edge of the hood.

Ensure the hood protector is centered and tighten the screws into the clips.

Take a felt marker (a fine point Sharpie works best) and insert it into the hole in each of the “pockets” of the hood protector.

Keeping the marker perpendicular to the hood surface, mark the hood surface with a dot.

If your hood has a paint protection film, a permanent marker may stain the film. Use a dry-erase marker or a grease pencil.

Once you have marked all the locations, loosen the screws holding the hood edge clips and remove the hood protector. Do not fully remove the screws from the assembly.

Locate the pedestal positioning template and place the template over a dot on the hood.

Ensure the template is square to the hood edge.

Using two of the repositionable tape strips, outline the template on two adjacent sides.


Overview shot of the tape strips in position.

We recommend taping the pedestals in place and positioning the hood protector to ensure you have correctly lined up all pedestals.

It is easier to make adjustments at this step before proceeding to the final installation of the mounting pedestals.

Using the automotive surface cleaner provided, clean an area approximately the size of the mounting pedestal at each location. Wipe dry with a clean cloth or paper towel.

Take care to not contaminate the hood surface after it has been cleaned. Any surface contaminants will reduce the effectiveness of the adhesive.

Peel the red protective backing off one of the adhesive pedestals.

Carefully place it on the hood surface exactly where the tape outline is.

Use care with this step as once the pedestal has been placed on the hood, it will be very difficult to remove.

Repeat for all locations.

“Wet out” pedestal bases to ensure the adhesive is thoroughly bonded to the hood.


Using a heat gun to warm the pedestal bases to 40° (105°) and wetting them out a second time will ensure the best bond possible.

Use caution not to overheat the pedestal or damage the paint.

Once the mounting pedestals are installed you can now remove the tape strips.

Place the hood protector on the bumpons and pedestals.

Re-hook the mounting clips on the front edge of the hood. Ensure the hood protector is centered on the hood and turn each screw until the “L” bracket is in place but not tight.

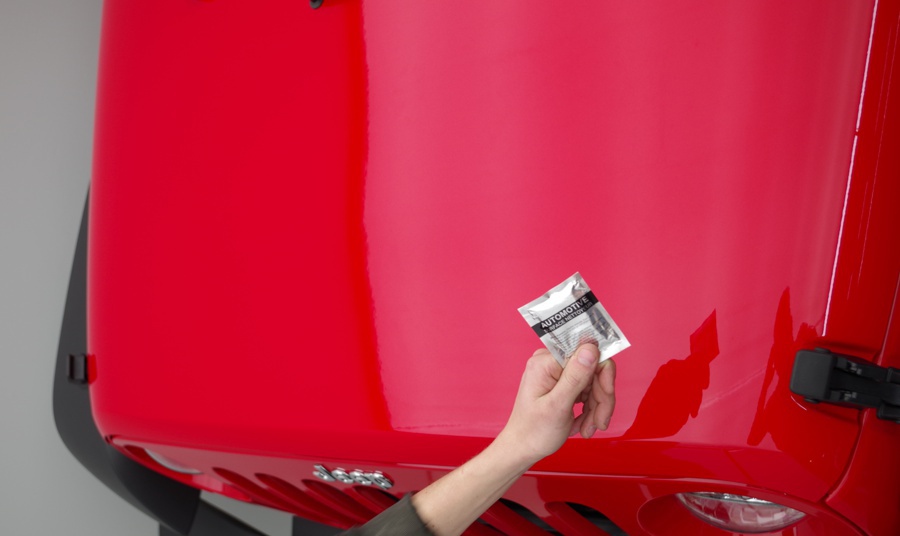
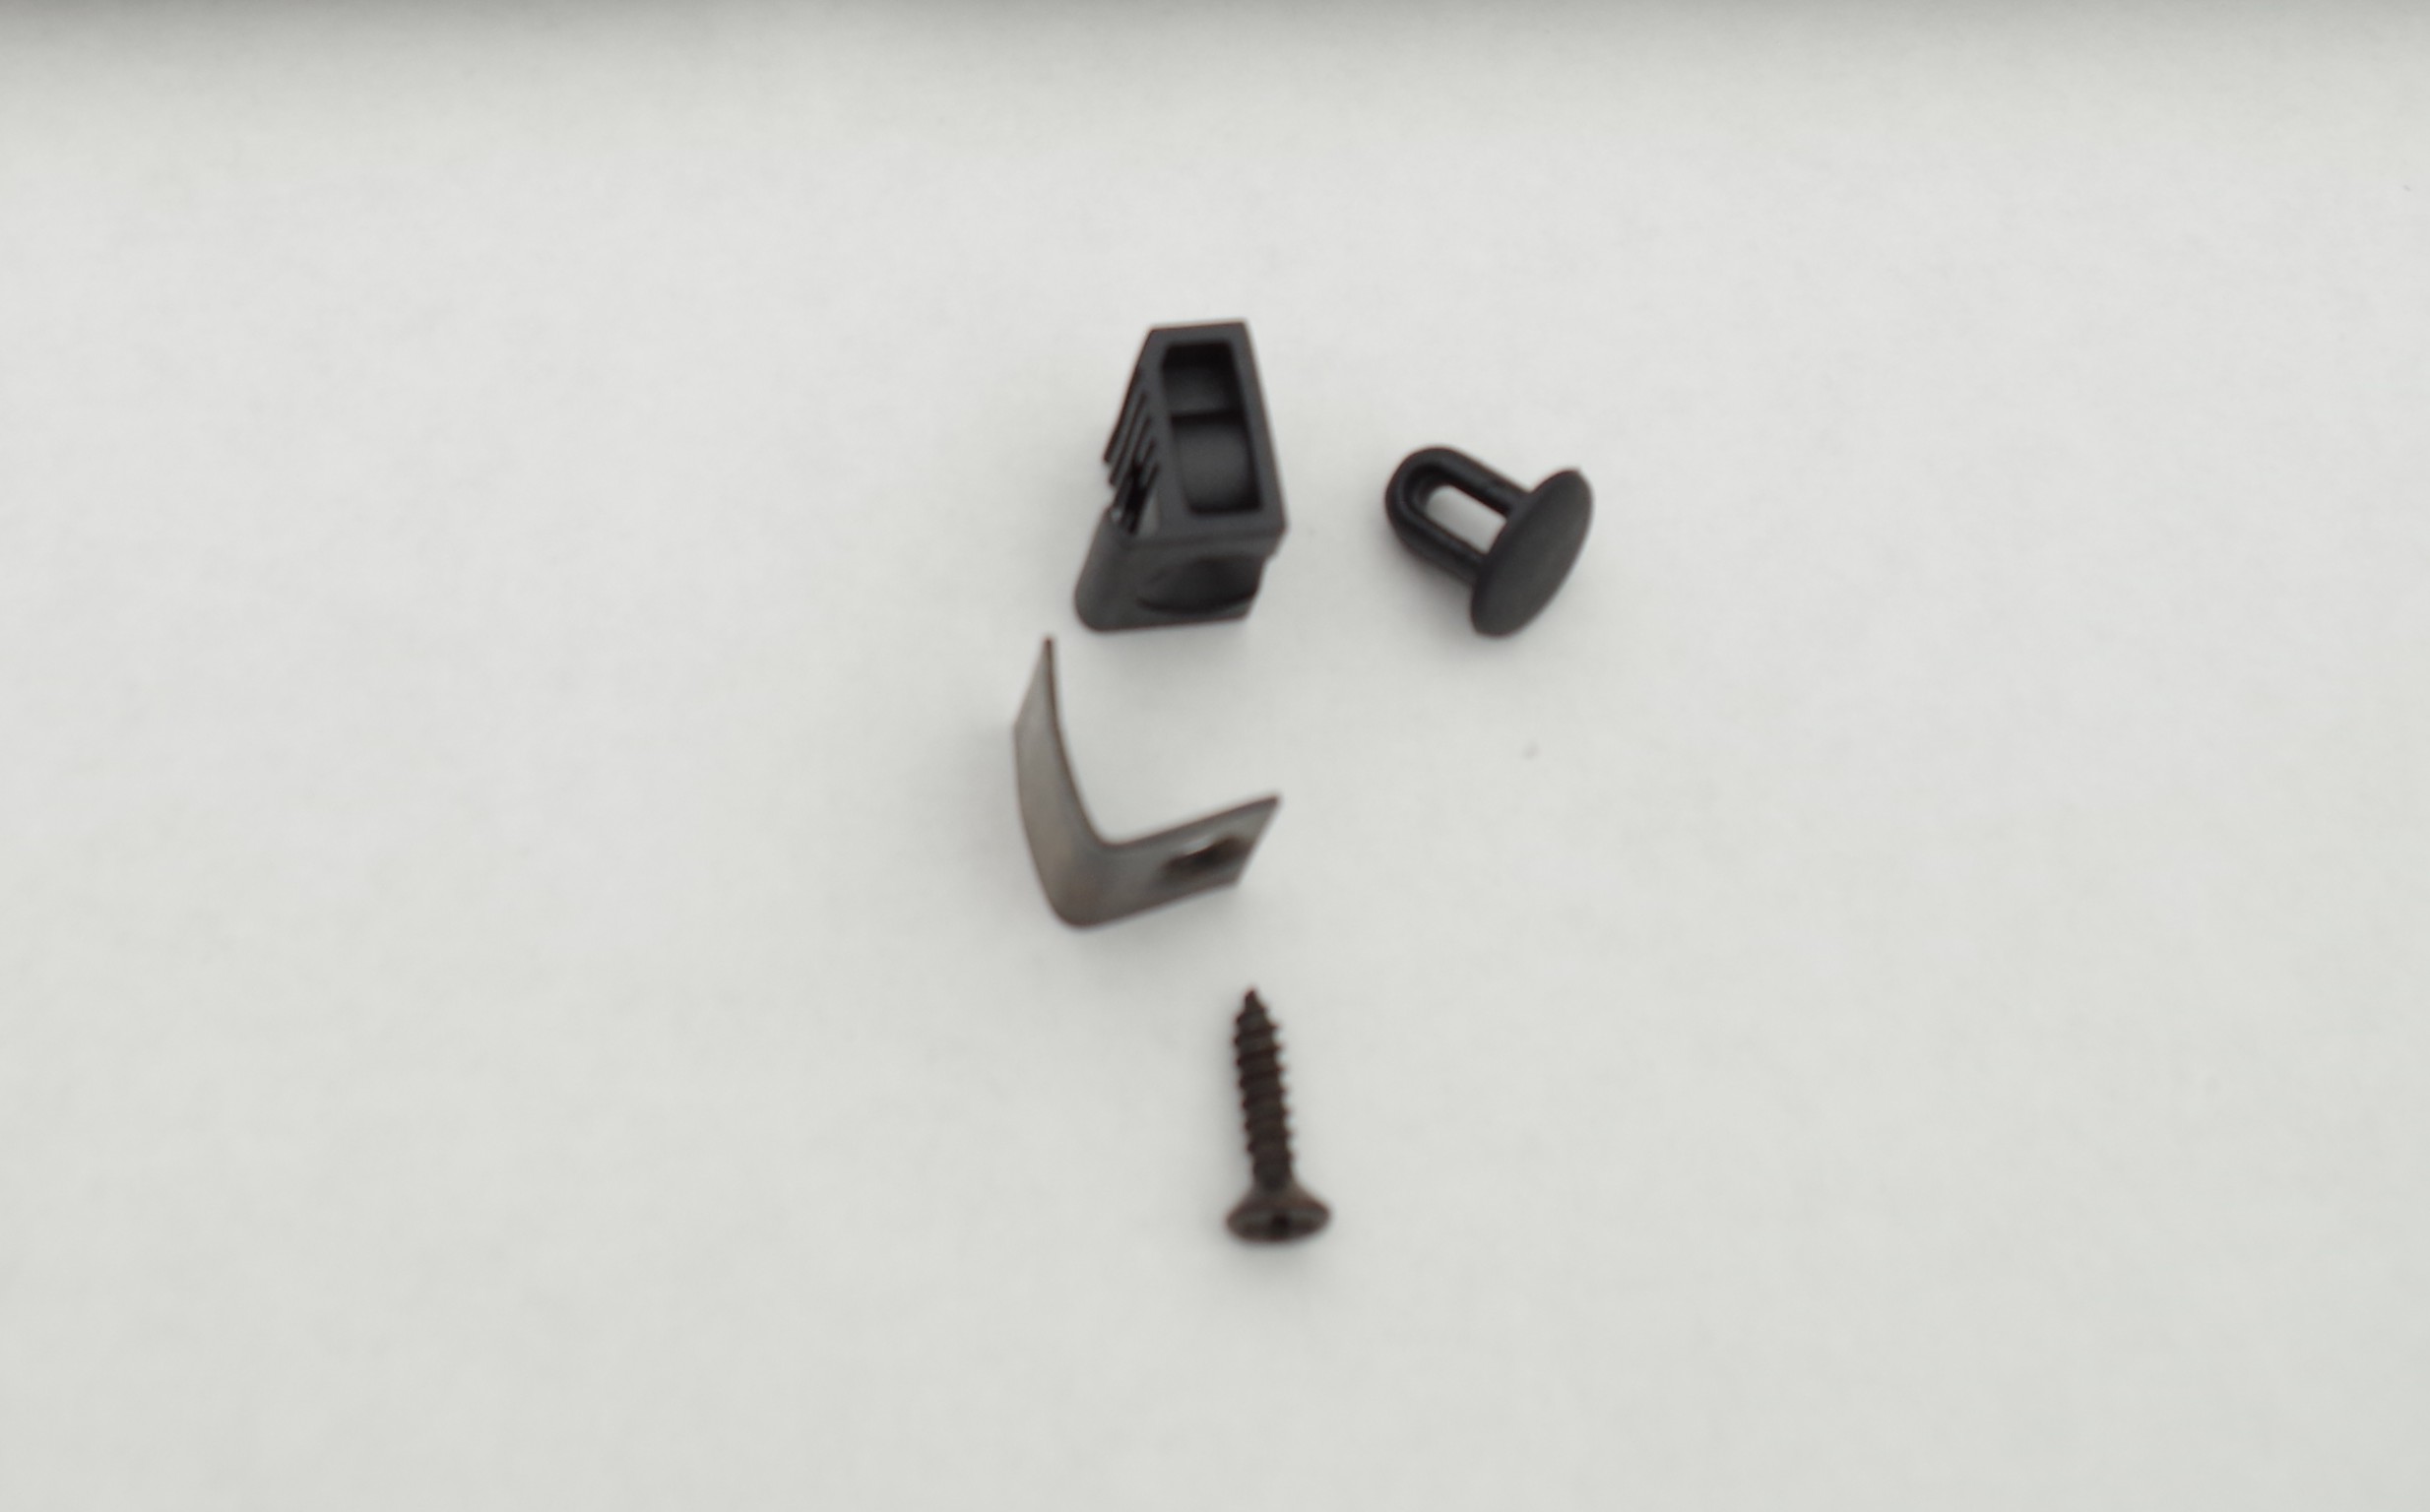
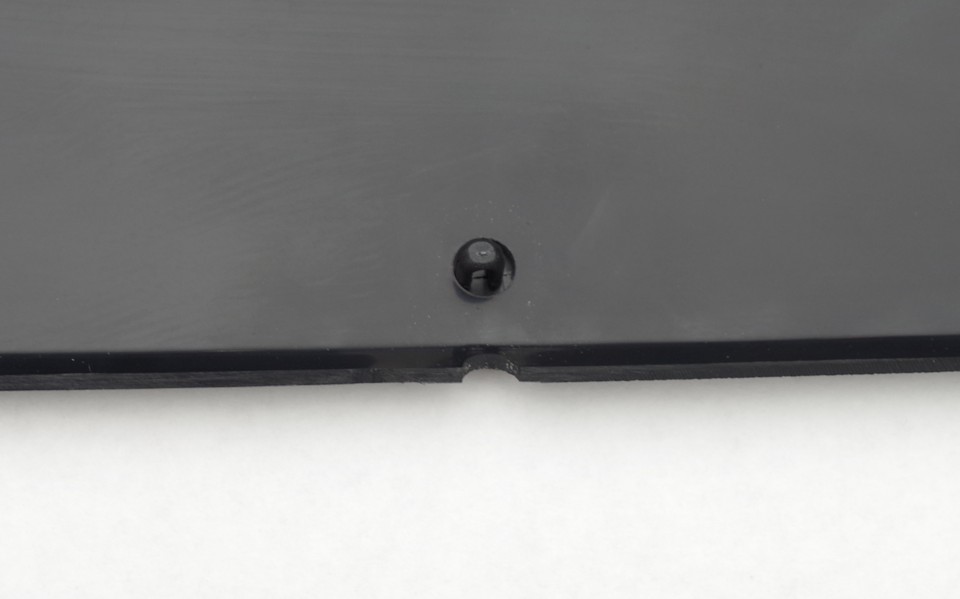
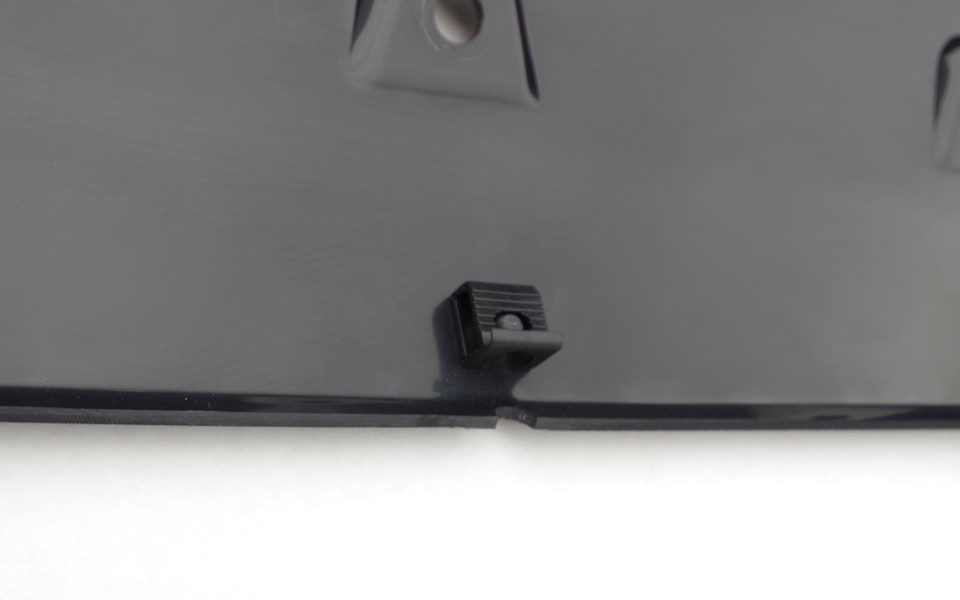
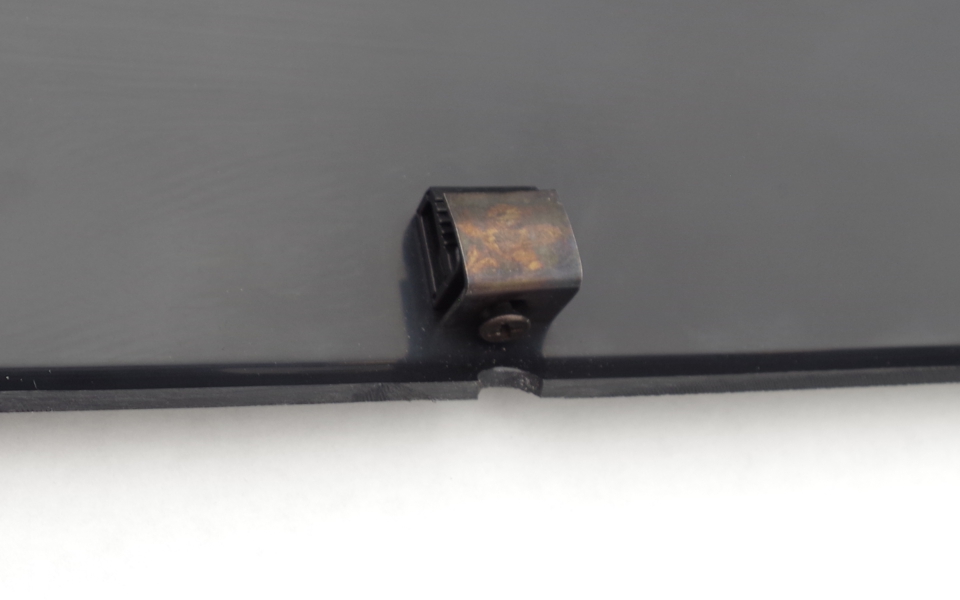
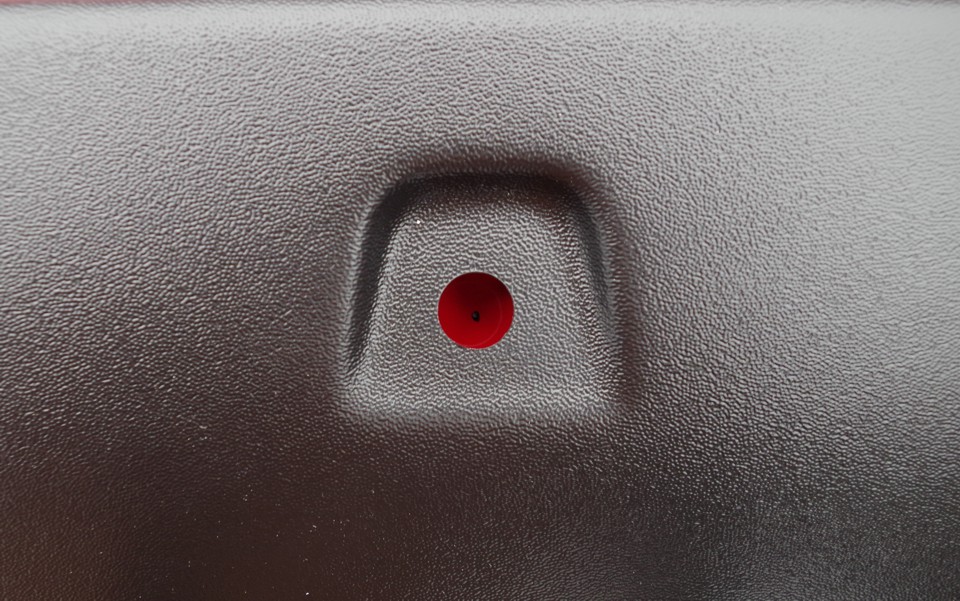
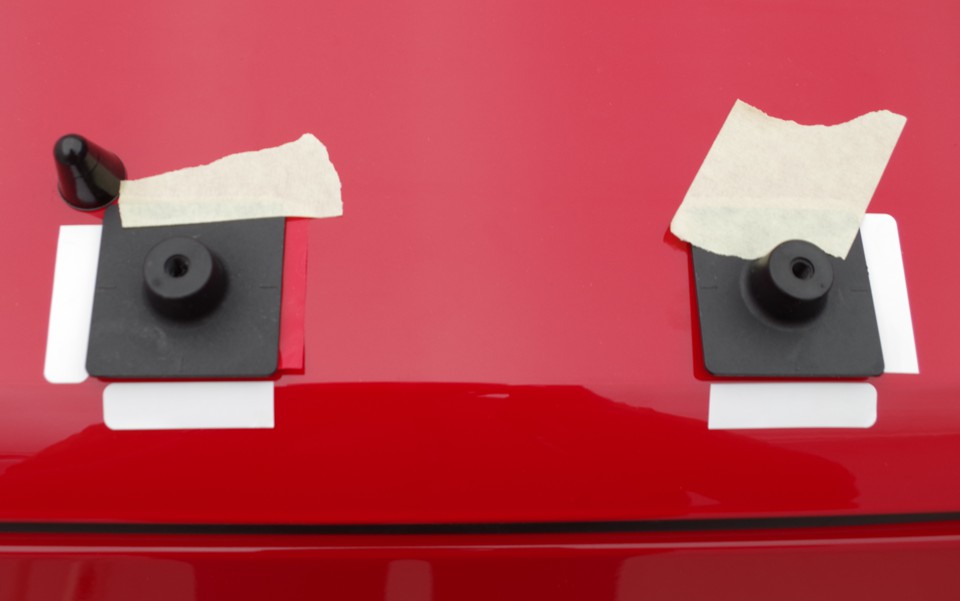
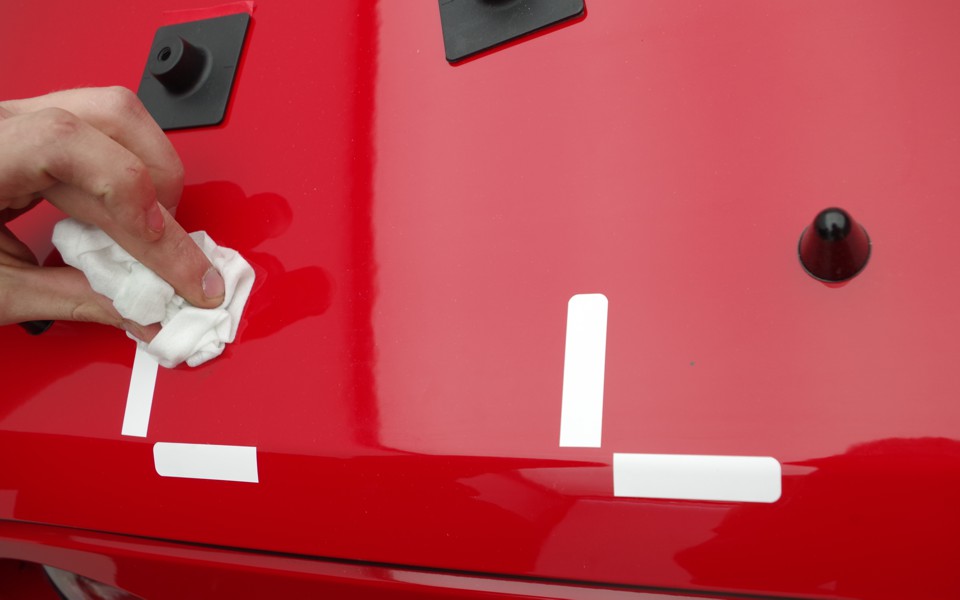
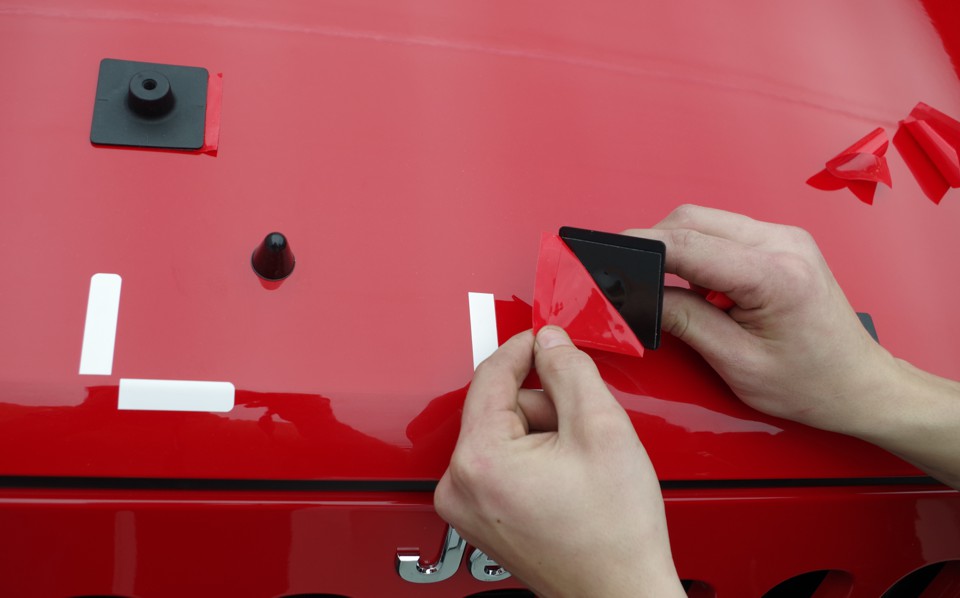
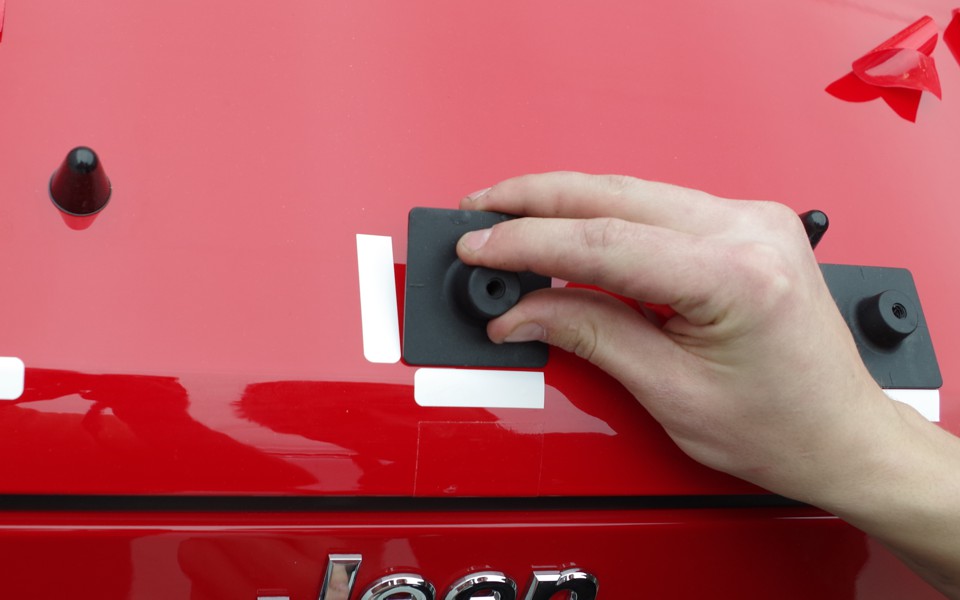
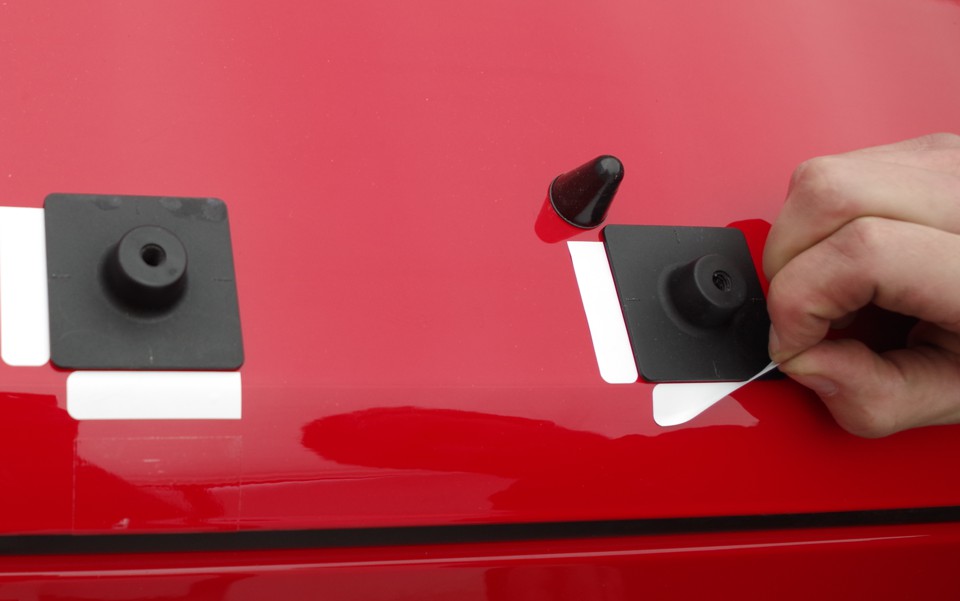
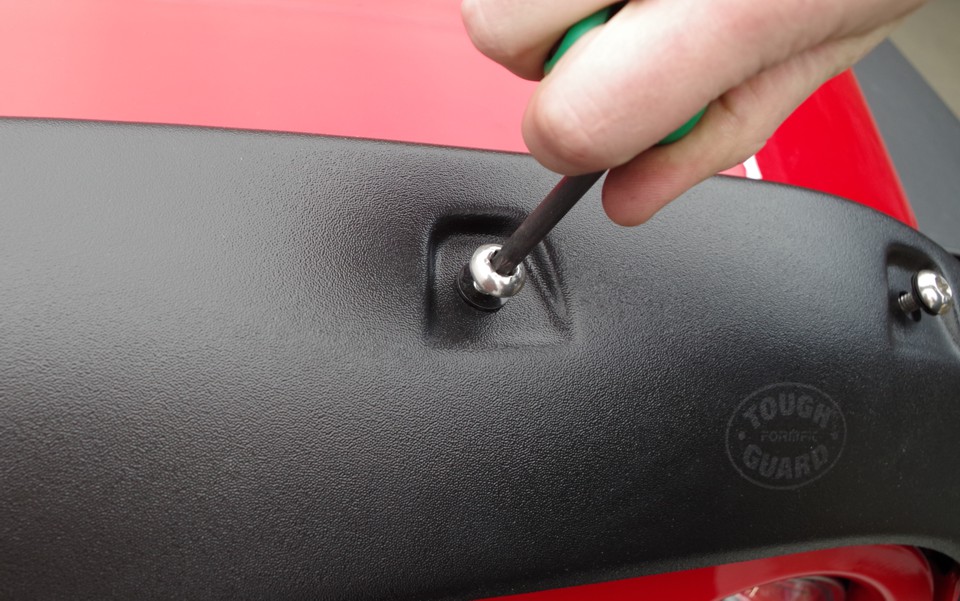
Place a Torx head screw through a shoulder washer and into a hole in hood protector. Ensure the shoulder portion of the washer slides into the hole in the hood protector. Loosely thread the screw into the mounting pedestal. See illustration for orientation of the shoulder washer. Repeat for all locations.

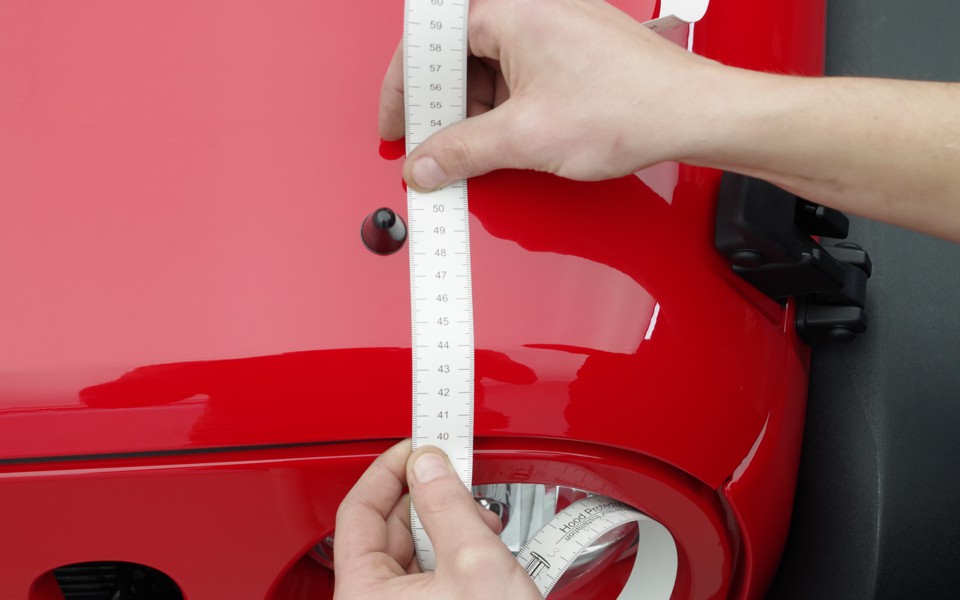
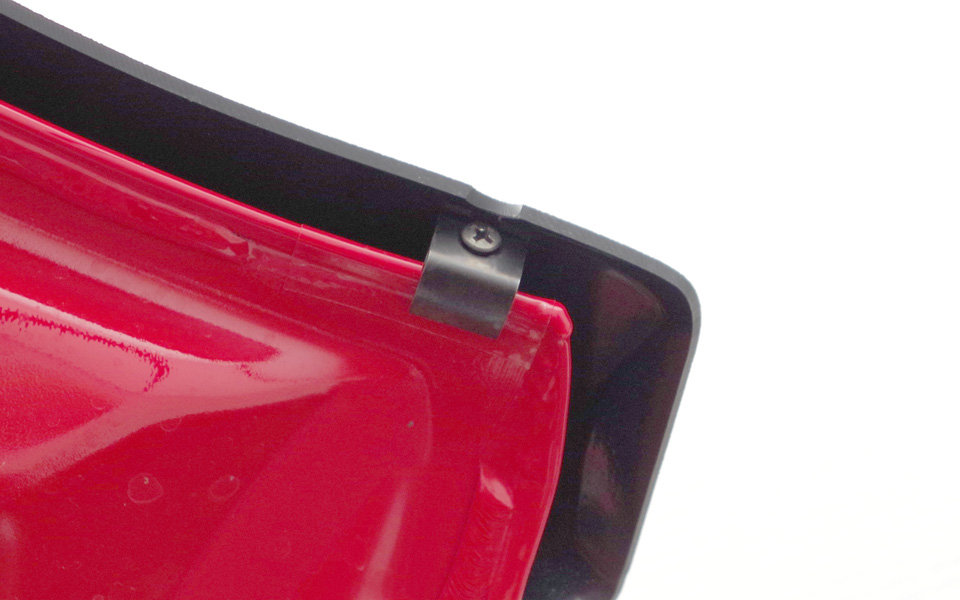
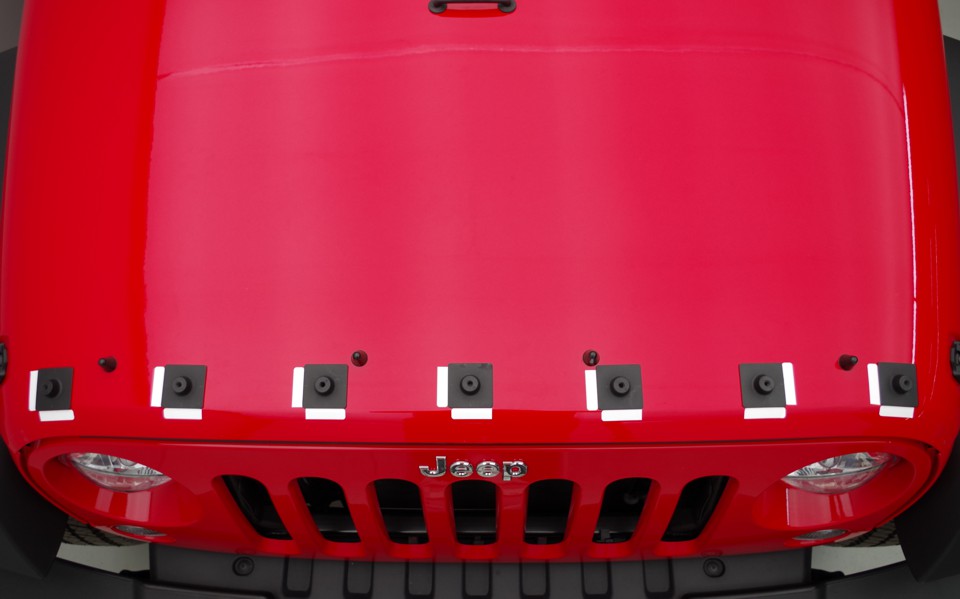
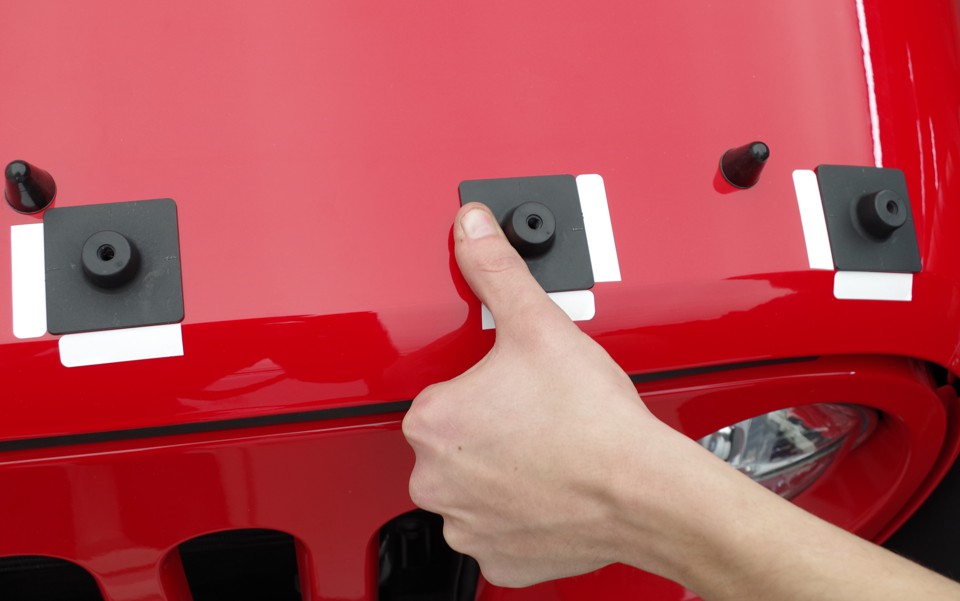
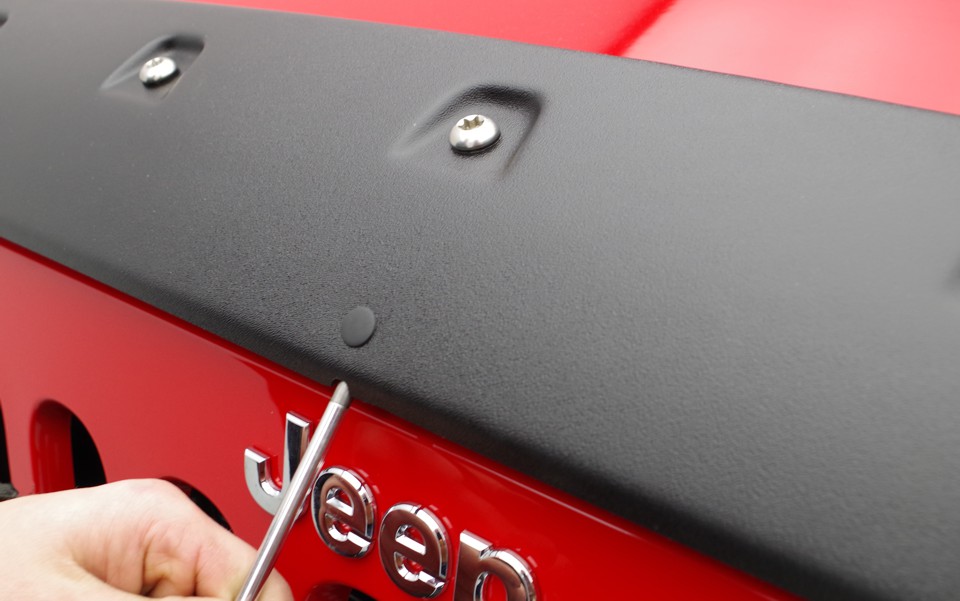
Ensure the hood protector is centered on the hood and using a T45 Torx key, tighten the screws into the pedestals. Start in the center position and work outwards. Ensure the shoulder washers are seated properly. Do not overtighten.

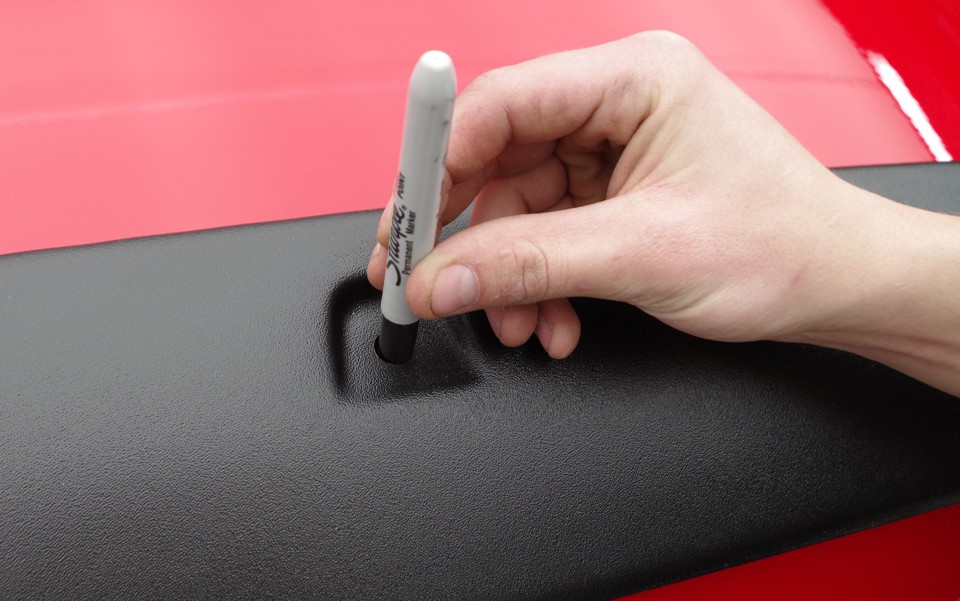
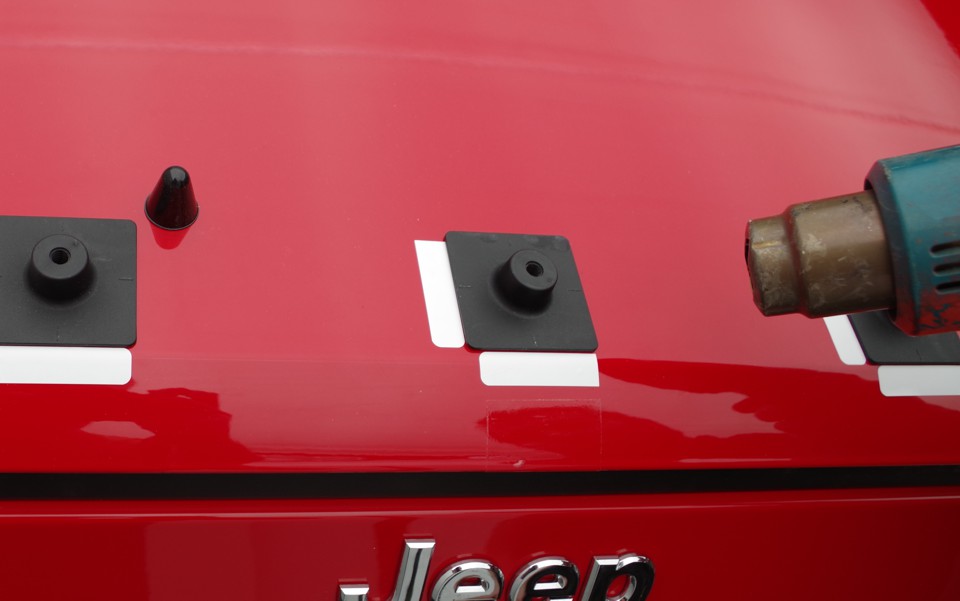
In place of the T45 Torx bit, a 7/32″ size Allen key will work.

Tighten the screws into the mounting clips on the hood edge. Use caution – do not overtighten.

Thank you for the purchase of our product.

We hope this answers any questions regarding our installation process for our Tough Guard Hood Protectors.

If you have any additional questions or comments please email us at customer@focusauto.com.